Last Updated on June 17, 2026 by Annet Njoki
Creating a newsletter in Mailchimp does not have to be difficult, even if the idea of starting an email marketing campaign from scratch seems daunting, especially if your technical skills aren’t the best.
Even if you’ve never done email marketing before, Mailchimp makes it simple to create professional campaigns while reducing the risk of email rejection issues. If you’re still comparing tools, a MailerLite vs Mailchimp comparison can help you decide which platform is a better fit before you get started. You can easily create travel newsletters in Mailchimp that feel custom-made for your subscribers in just a few steps. Next, let’s go over the step-by-step process of creating your first newsletter in Mailchimp.
Step 1: Sign Up and Log In
Sign Up: To create an account, go to the Mailchimp website and click the Sign Up link in the header. This will direct you to the pricing page, where you may start by selecting your preferred pricing plan. After entering all the required data, you will eventually be directed to the Mailchimp dashboard. It’s advisable to complete all the steps without skipping; this will guarantee that you will later be able to access crucial data.
Log In: If you already have the account Log in to continue.
Step 2: Set Up Your Audience
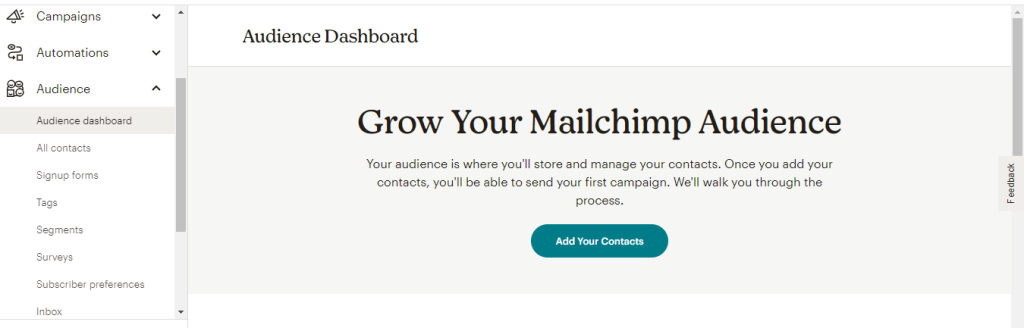
Navigate to Audience: Having an email list is the next requirement in order to send out the newsletters. You can import your existing email list into your Mailchimp account. Go to the “Audience” tab.
Create Audience: If you don’t have an audience yet, click “Create Audience.” Click on it to get to the audience creation page.
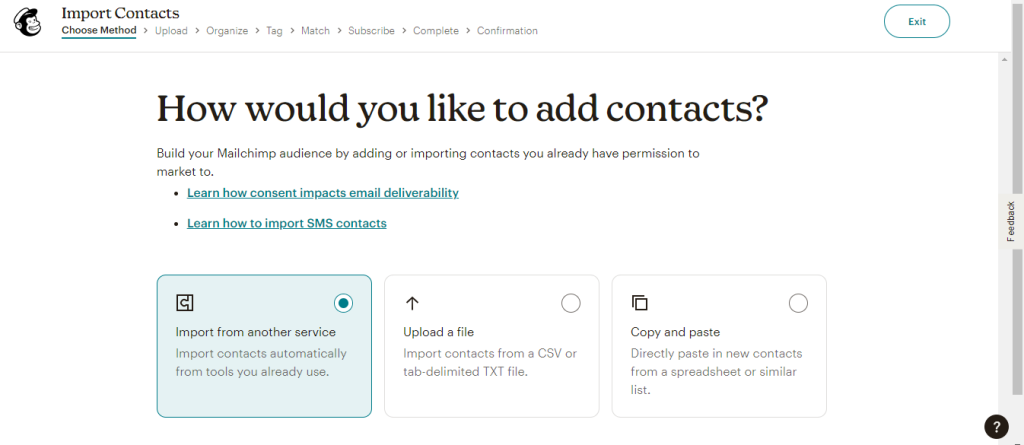
You can create an audience by, importinf from another service, uploading a file, or copying & pasting.
You can now maximize engagement and effect by sending customized email campaigns to your newly generated audience.
If you currently lack any subscribers, consider requesting that you add your clients to your mailing list or making a social media announcement to get the word out. Consider offering a little gift or discount voucher to encourage customers to join up, if it makes sense for your business to do so.
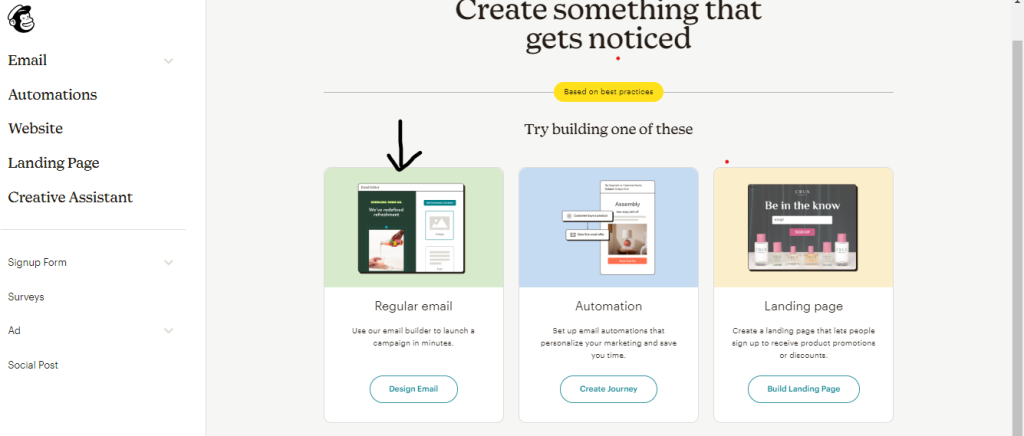
Step 3: Create a Campaign
Go to the “Campaigns” tab . Click the “Create ” button.
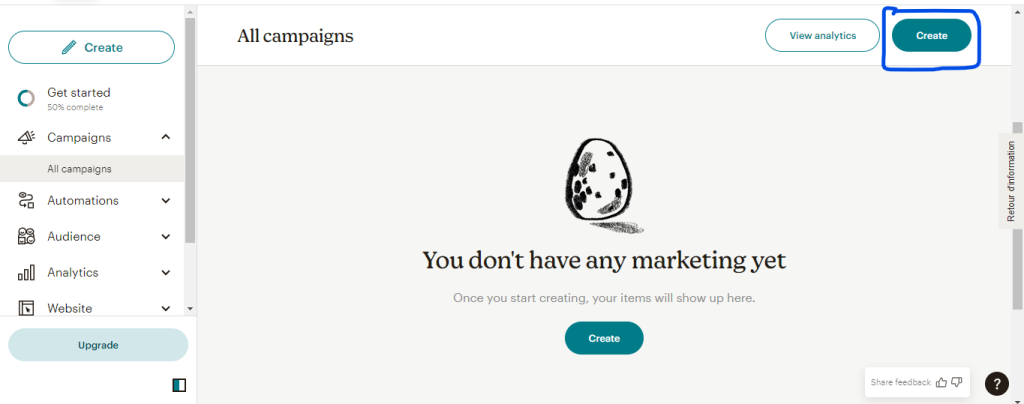
Mailchimp provides numerous campaign types, including regular email, automation, and landing page. We’ll focus on regular email in this Mailchimp newsletter creation tutorial.
Using platforms like Mailchimp correctly can help reduce common setup mistakes that may lead to email rejected issues.
Step 4: Set Up The Campign Info
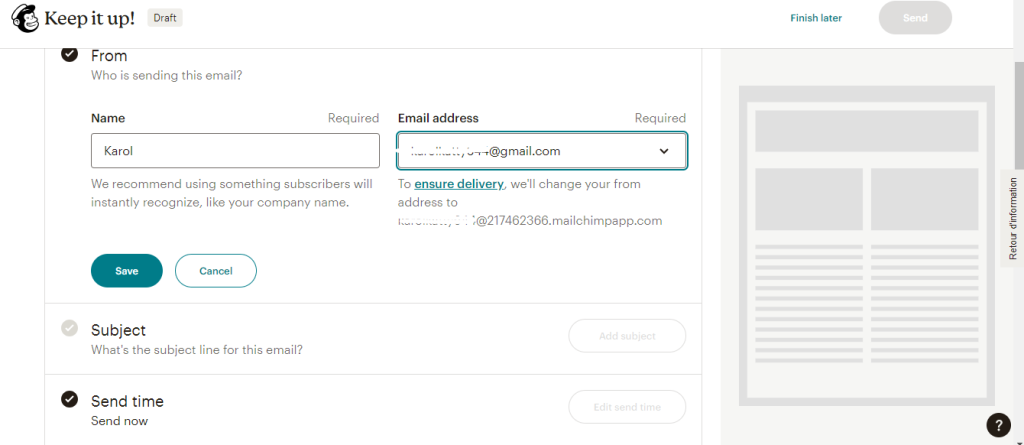
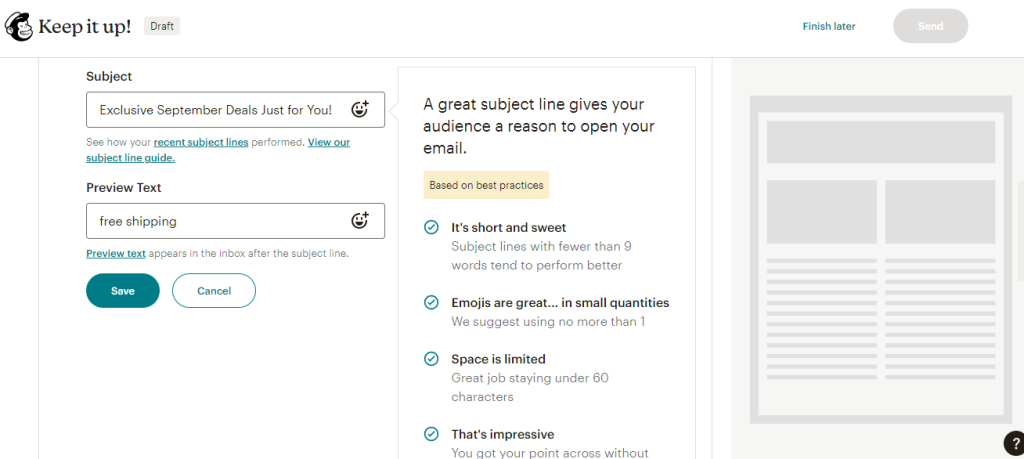
After selecting your campaign type, you will be taken to a page where you will need to fill out details like; Name of the campaign, Recipients, From Name and Email, Subject Line, Send time and Content.
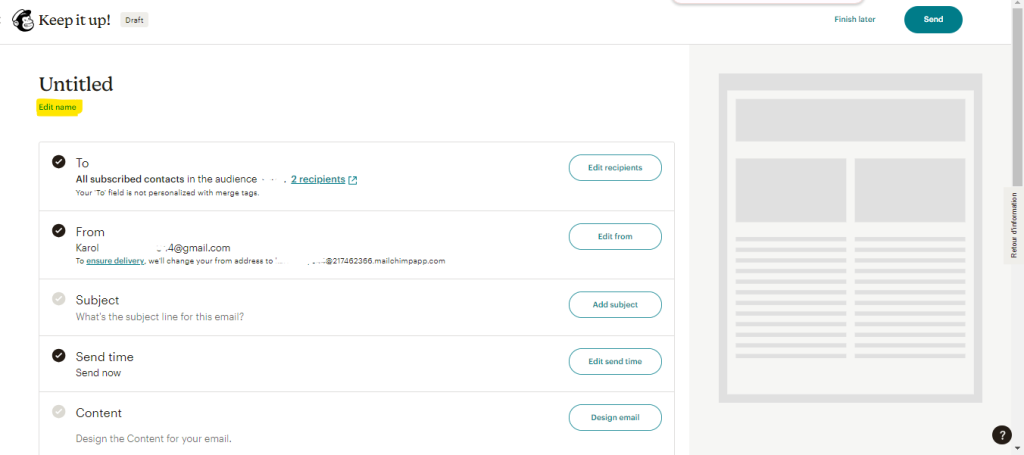
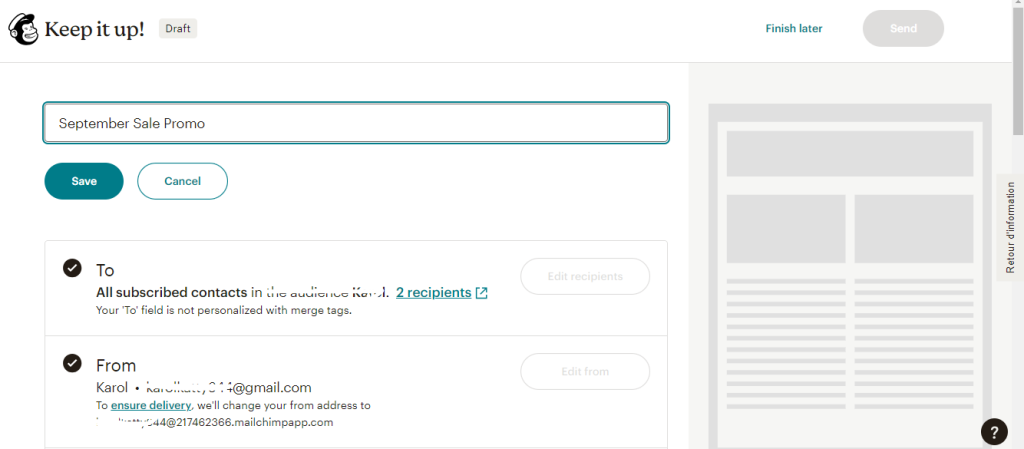
Campaign Name: A campaign name in Mailchimp is an internal label that you assign to your email campaign. It is intended to help you identify and arrange your campaigns on the Mailchimp dashboard, but it is not visible to your email recipients.
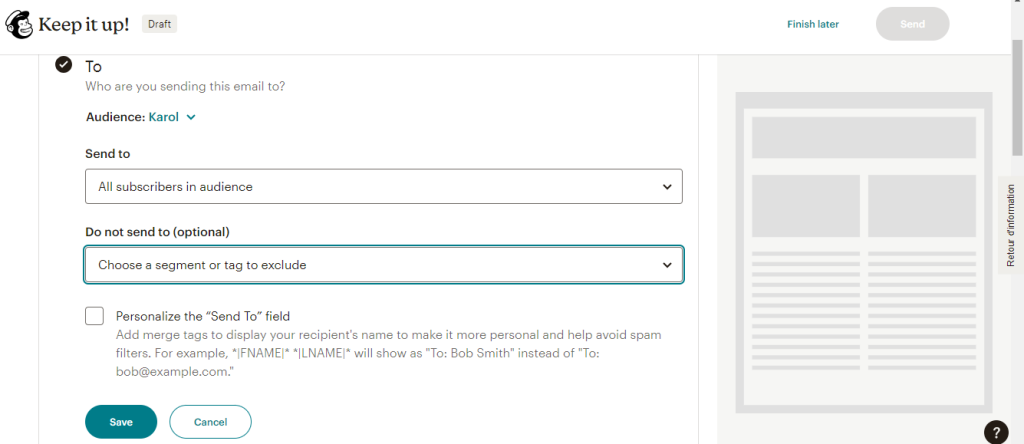
Recipients: Choose your audience or segment to send the newsletter to.
From Name and Email: To change the sender name that recipients will see when they open the email in their inboxes, click Edit from.
Subject Line: A subject line is the text that shows in the recipient’s inbox and provides a preview of the email’s content. It has a significant impact on whether or not someone opens your email. Mailchimp provides a link to an article that teaches you how to write enticing subject lines.
Send or Schedule:
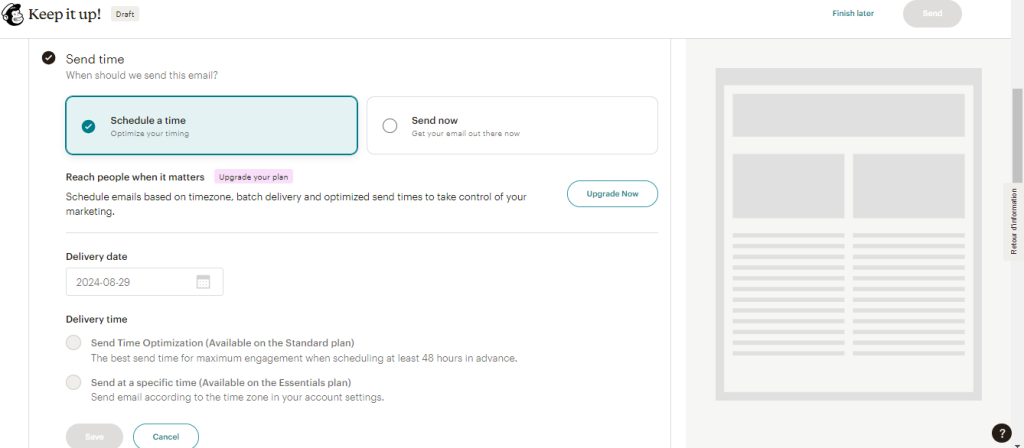
- Send Now: If all looks good, click “Send” to send your newsletter immediately.
- Schedule: Set a date and time to send your newsletter in the future. ( You cannot schedule a newsletter in the free plan)
Content: Ensure your content is ready, with all necessary links and images included.
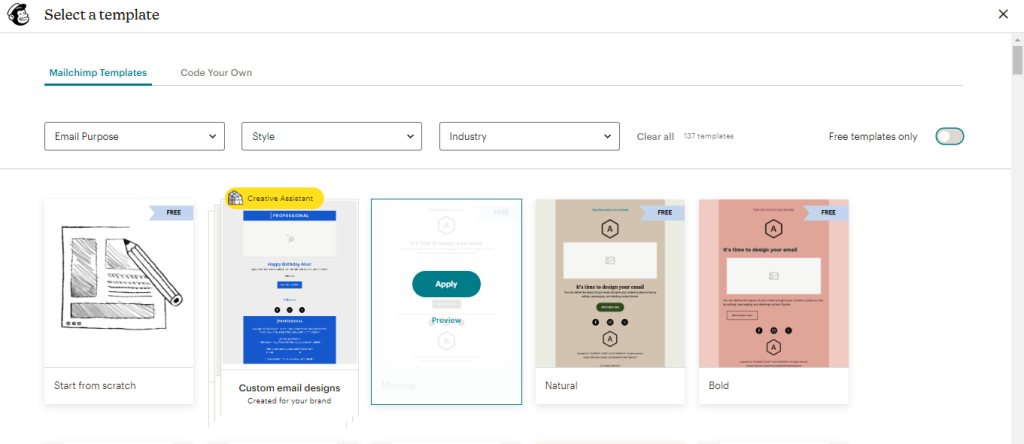
Step 5: Choose a Mailchimp email template
In the content section this is where you design your email including choosing a pre-designed template or creating one. You can filter by email purpose, industry, and plan type (free or premium).
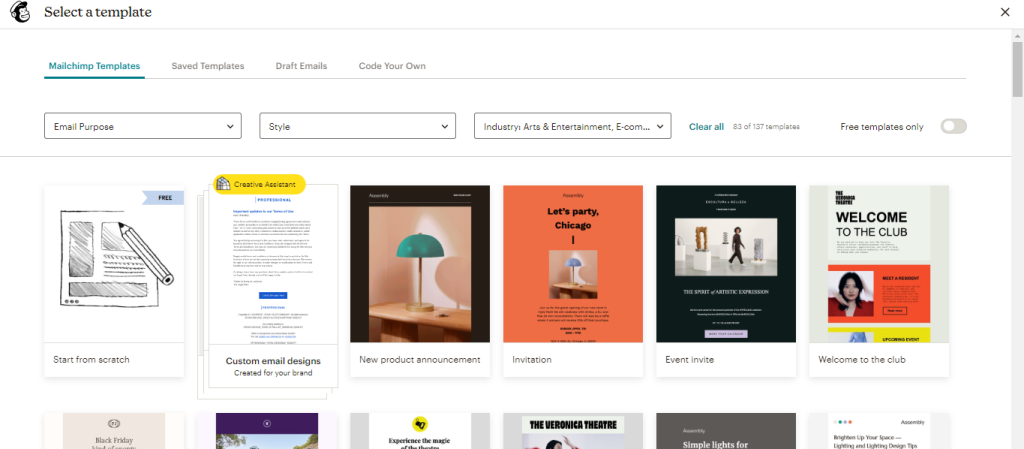
Just click “Apply” to start modifying after you’ve found the ideal template.
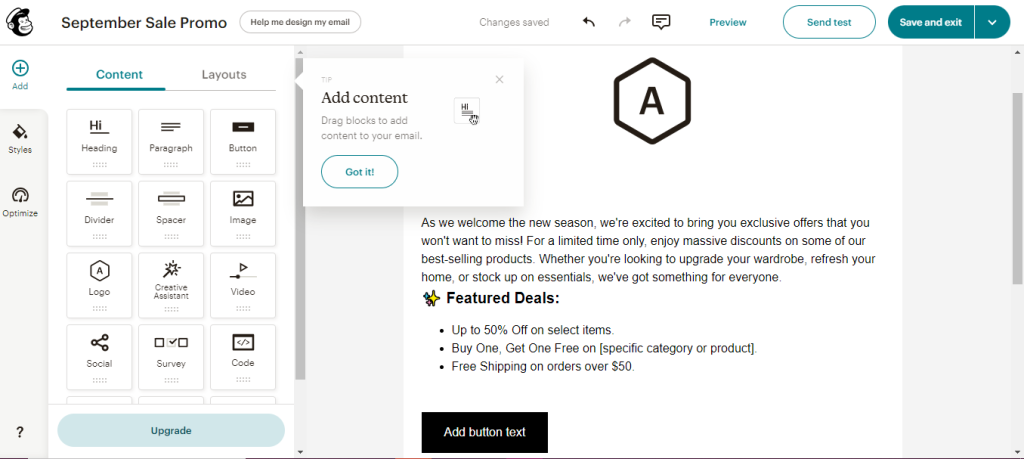
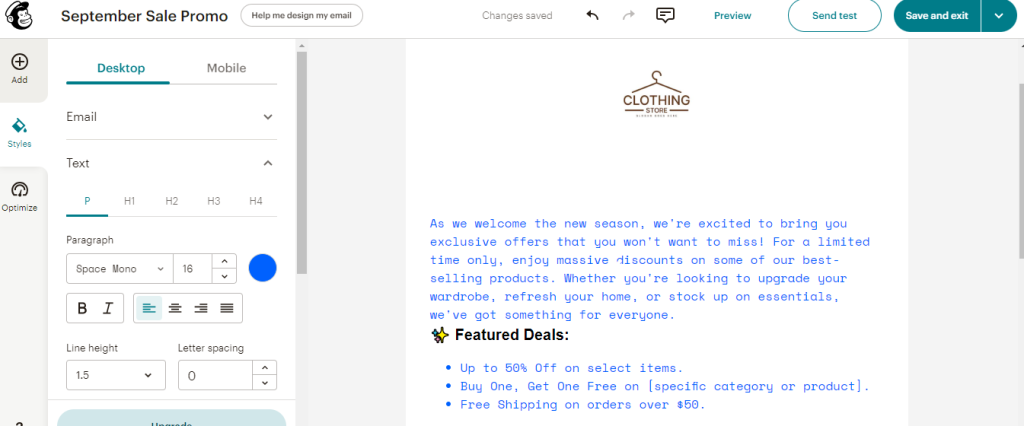
Step 6: Customize Your Newsletter
Use the drag-and-drop editor to add and arrange content blocks. You can include text, images, buttons, and social media links.
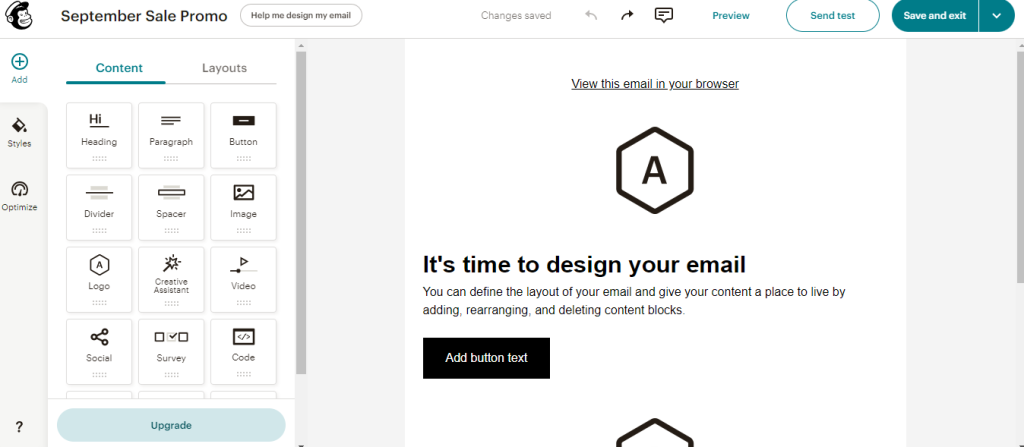
Content Blocks: Add articles, updates, promotions, or any other content relevant to your newsletter.
Add Logo and Branding: Make sure to include your logo and use your brand colors.
Step 7: Preview Your Newsletter
Preview and Test: Use the preview and test feature to see how your email will look on different devices.
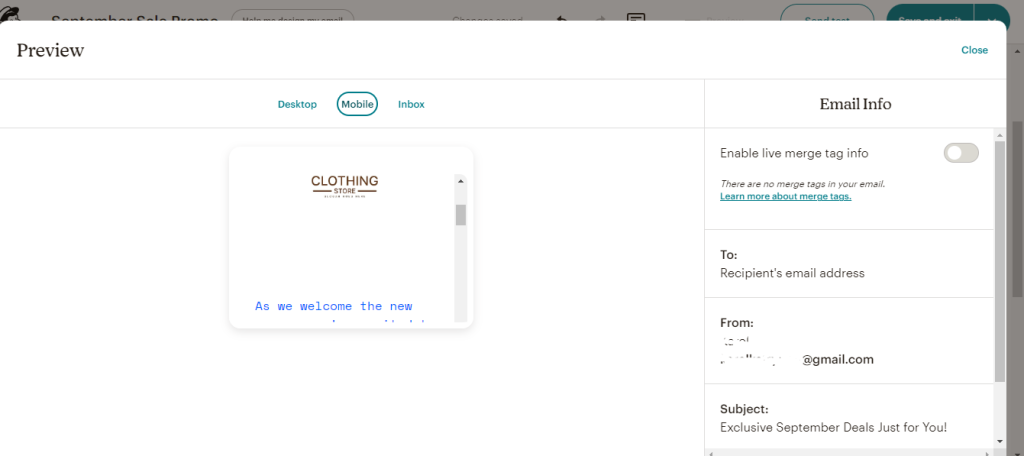
Double-check that the newsletter fulfills your standards. Now, send it!
Additional Tips
A/B Testing: To determine which email performs better, two similar but distinct emails are created and tested against each other. Mailchimp advises A/B testing with a list size of 5,000 to achieve statistical significance. Don’t get discouraged if your organization’s list is smaller! A/B testing is still possible; you will just need to wait longer to see statistically significant results and/or be aware that the results might only be recommendations rather than fact-based evidence of which messaging strategy is more effective than another.
Automation:To assist you in engaging your audience, Mailchimp provides approximately forty-five pre-built automations, or “journeys.” Set up automated emails for birthdays, welcomes, and other events.
Analytics: Mailchimp offers comprehensive reports, even for those using the free plan. You can easily see from the dashboard how many subscribers placed orders over the campaign’s lifetime and how many opened, clicked, or bounced. If you want a clearer way to measure performance beyond the dashboard, you can use an open rate calculator to track email open rates and better understand your campaign performance.