Last Updated on October 29, 2024 by ian
Sending a newsletter in Gmail can be done by either using Gmail directly or integrating it with external tools for added features like mail merge and tracking. Here’s a guide on how to create and send a newsletter in Gmail, with both simple and more advanced options:
Option 1: Sending a Newsletter Directly in Gmail
Step 1: Prepare Your Content(optional)
Draft your newsletter with text, images, and links in advance, either in a Google Doc or Word document, so it’s ready to copy into Gmail. In this tutorial I will start form scratch.
Step 2: Create a New Email:
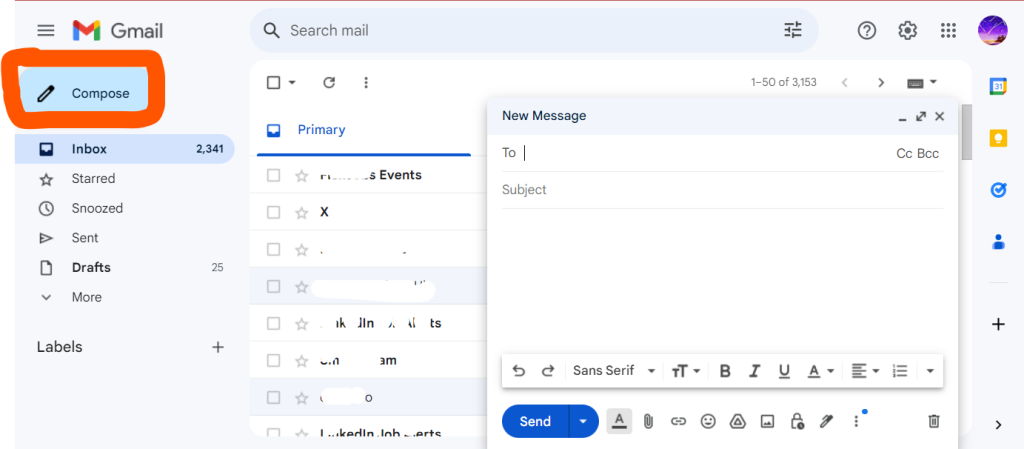
Open Gmail and click the Compose button in the top-left corner.
Step 3: Add Recipients:
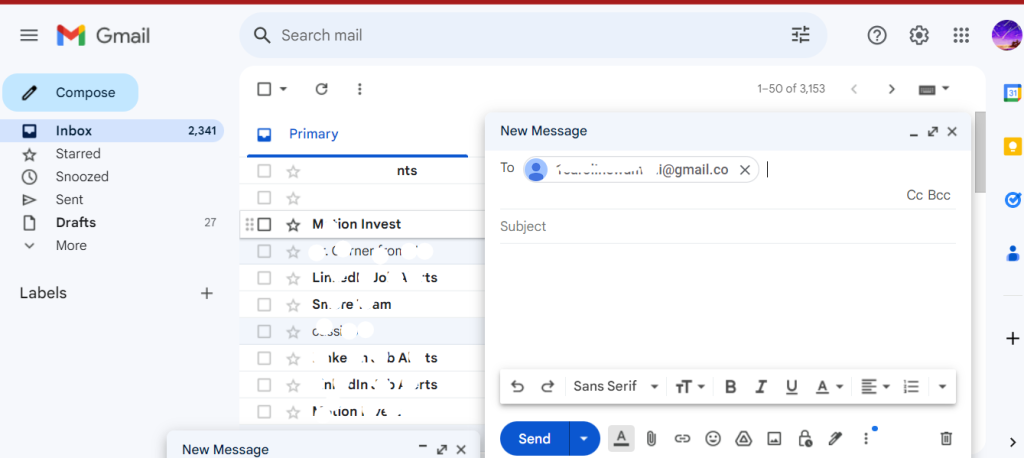
Add the recipients to the To or Bcc field:
To field: Visible to all recipients (not recommended for large groups).
Bcc field: if you have a contact list, type the group name to email them all at once. Use Bcc (Blind Carbon Copy) if you want to send it to multiple people without revealing the entire recipient list.
In this example I will use To field since I will send to one recipient.
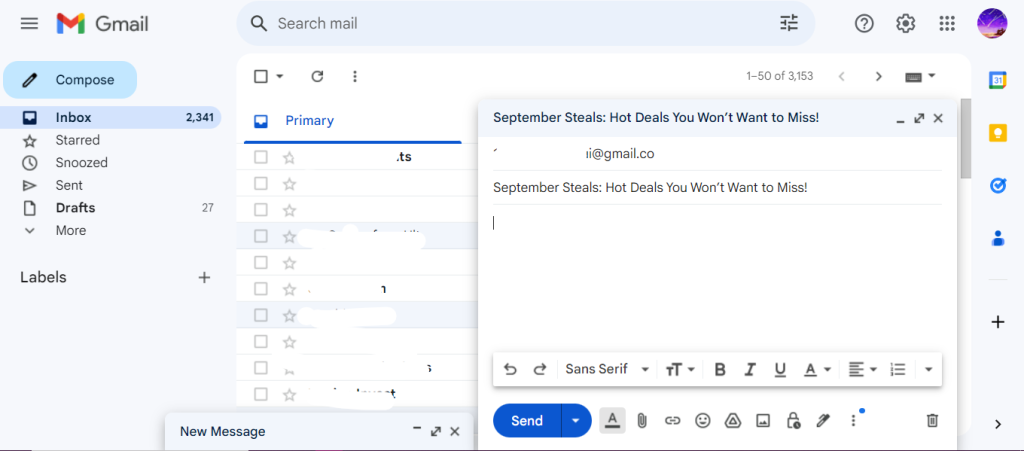
Step 4: Write the Subject Line
Ensure your subject line is clear, engaging, and reflects the content of the newsletter. For example, “September Steals: Hot Deals You Won’t Want to Miss!.”
Step 5: Design Your Newsletter:
If you had prepared your newsletter in MS Word or Google Docs, you will copy paste it directly. However, you will still need to format it since some formatting (like fonts, headings, or spacing) may not transfer perfectly. Double-check and adjust the formatting to make sure it looks good in the email.
However, in this example I will write and format in the email body, using formatting like bold, italics,color, headings, and bullet points.

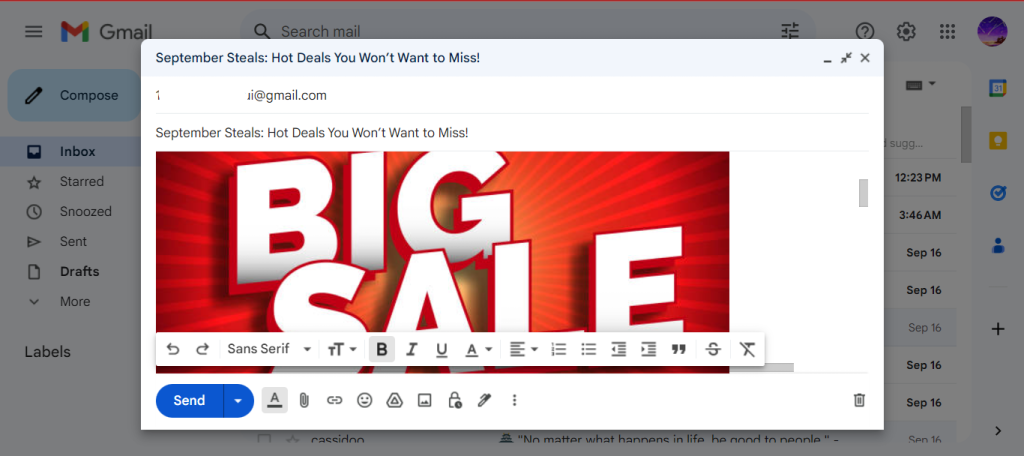
Insert images by clicking the “Insert Photo” icon and uploading from your computer or Google Drive.
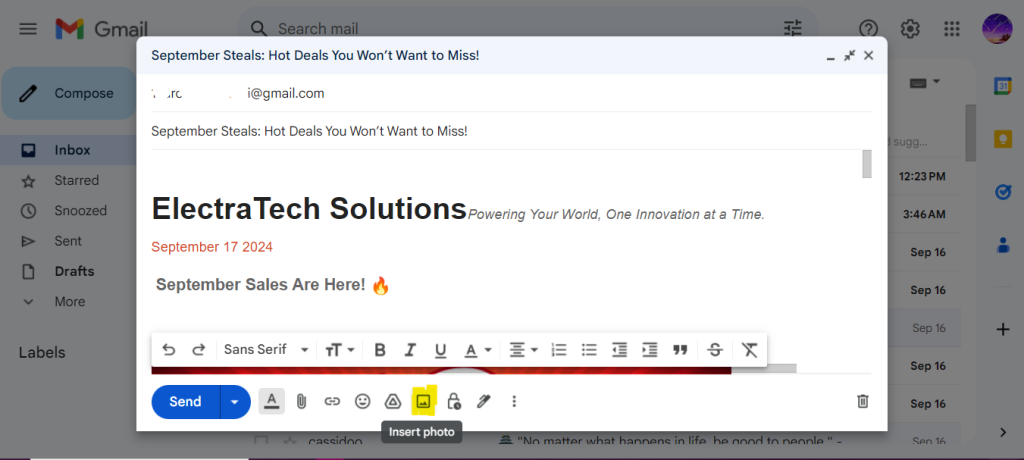
Choose an image that represent your brand. You will have something like this;
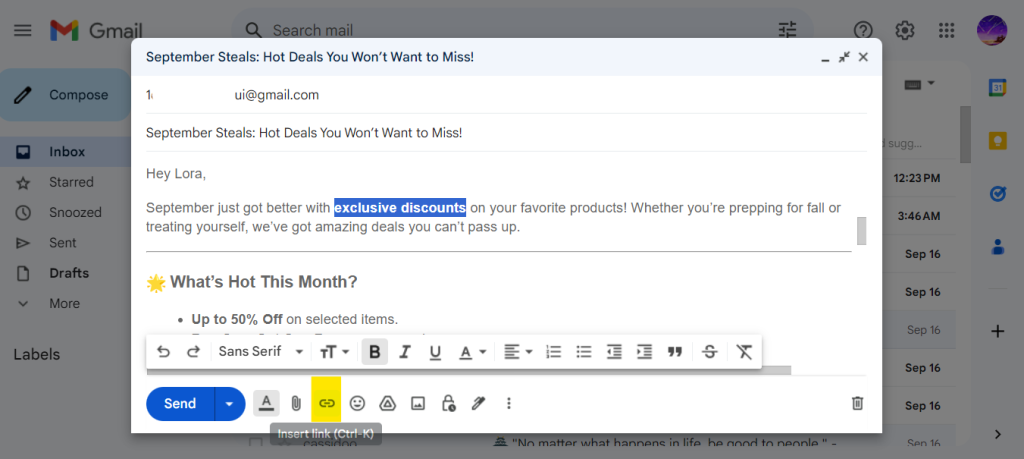
Add links t by highlighting text, clicking the “Insert Link” button, and pasting the URL.
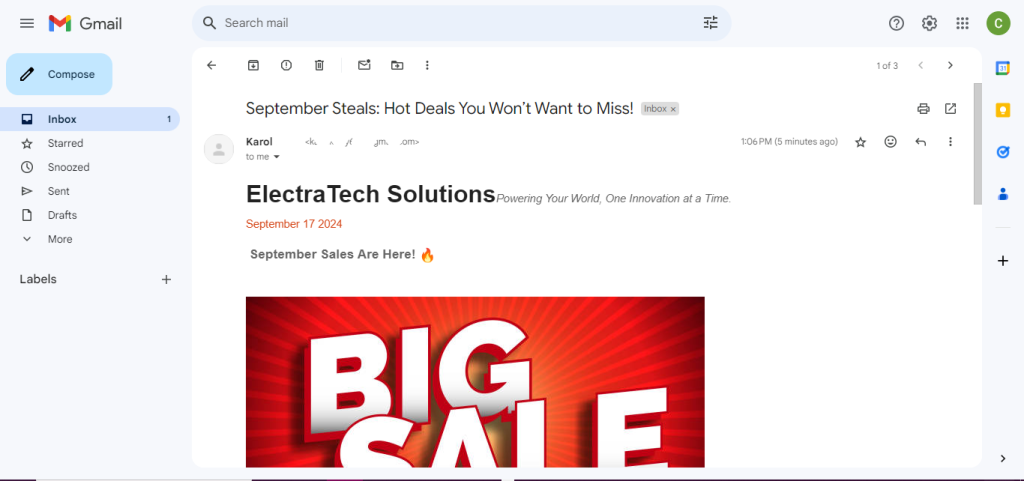
Step 6: Test the newsletter
Send a preview to yourself or a colleague to check formatting, images, and links. If the newsletter is not to your satisfaction, edit it and make the necessary changes until it is as desired.
Step 7: Send the newsletter
Send to your full list of recipients by adding their email addresses and clicking “Send”.
Option 2: Using Google Contacts for Group Emails
If you’re sending your newsletter to a regular group of people, you can use Google Contacts to create a mailing group. Instead of manually adding multiple recipients, you simply add the contact group label to the email address field.
Step 1: Open Google Contacts
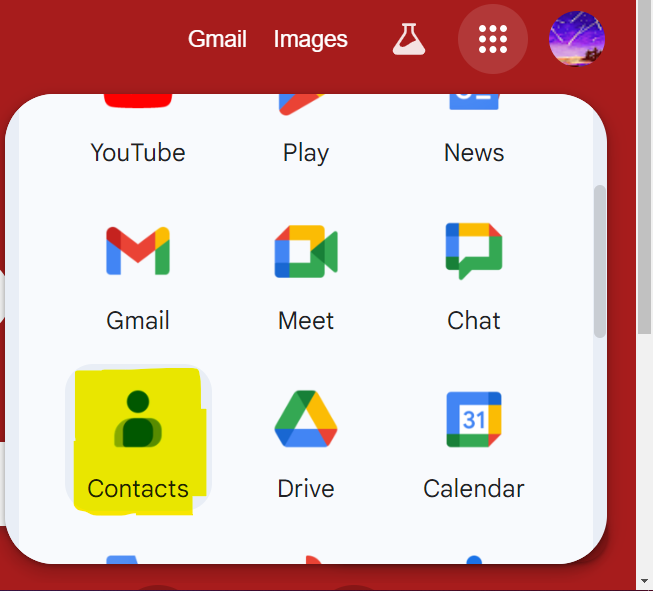
Log in to your Gmail account. Click on the Google Apps icon (a grid of dots) in the top right corner.
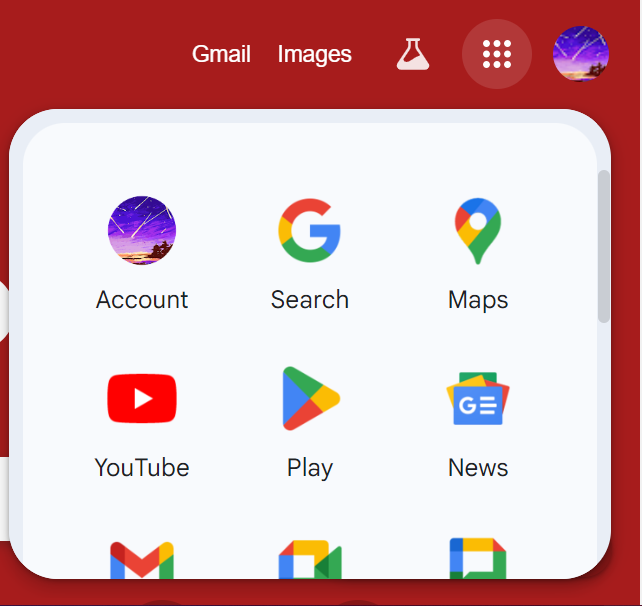
Select Contacts from the dropdown menu.
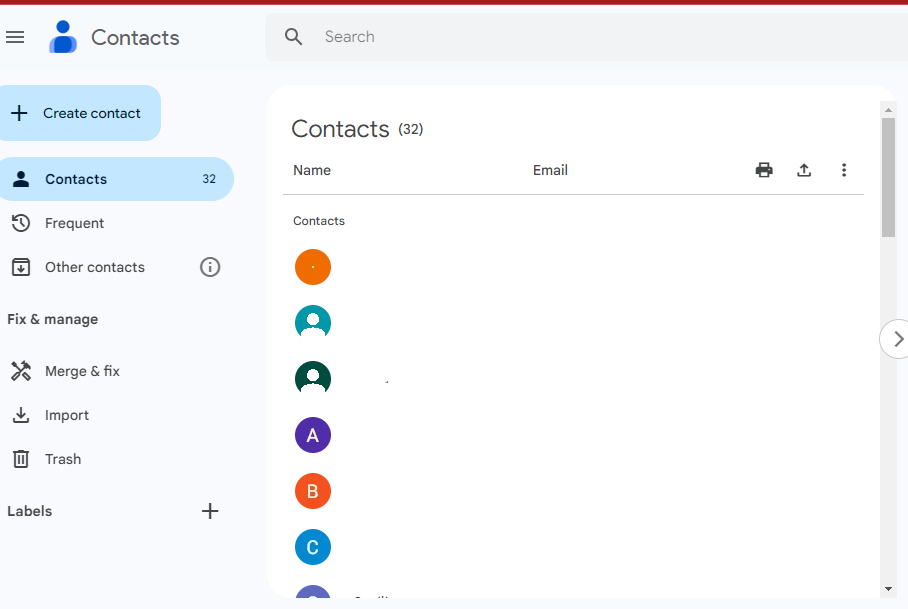
Step 2: Select Contacts
Browse through your contact list to find the people you want to include in your group.
You can also use the Frequently contacted section to quickly find contacts you email often.
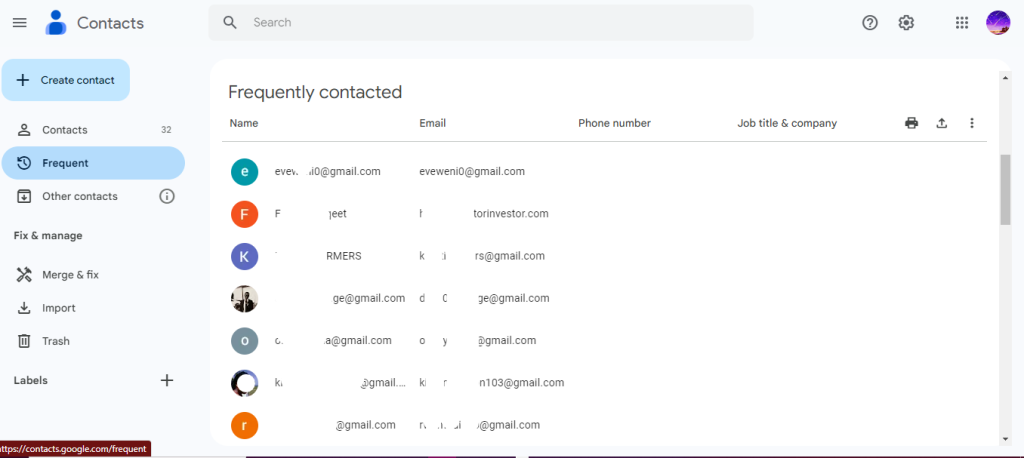
Check the box next to each contact you want to add to your group.
Step 3: Create a New Label
After selecting your contacts, click on the Label icon (it looks like a tag) at the top of the screen.
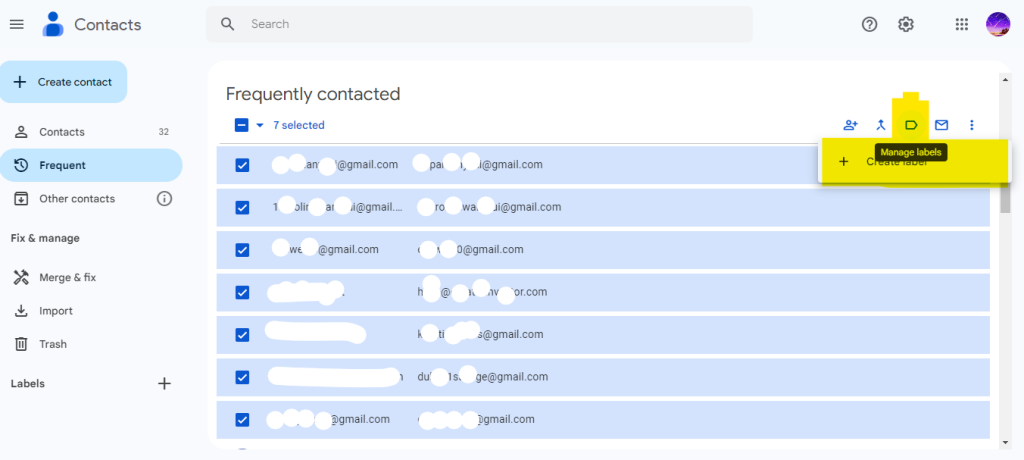
Choose Create label from the dropdown menu.
Step 4: Name Your Group
Enter a name for your new group (label) in the pop-up window.

Click Save to create the label. Your selected contacts will now be associated with this label.
Step 5: Send a Group Email
Go back to your Gmail inbox and click on Compose to start a new email.
In the “To” field, start typing the name of your group. Gmail will auto-suggest it; select it when it appears.
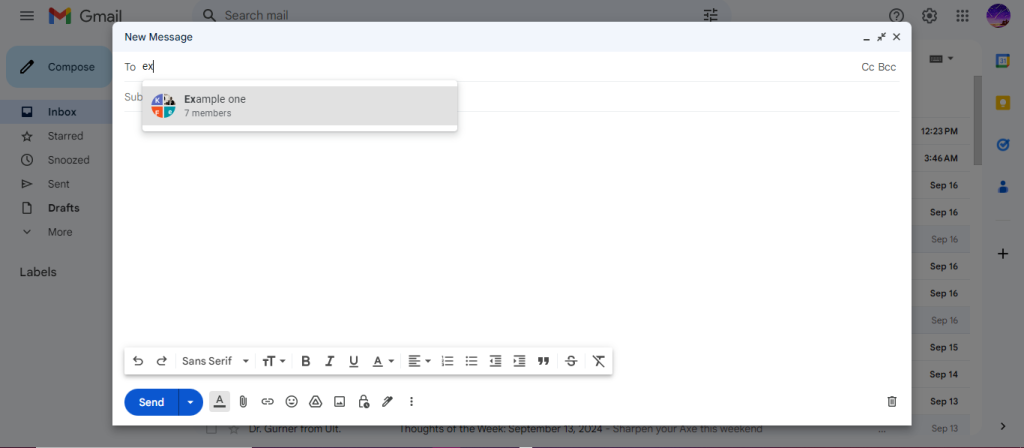
Write your email message as usual, then click Send. Your message will be sent to everyone in the group.
Option 3: Using Add-ons for Personalized and Professional Newsletters
To add advanced features like mail merge (for personalization), analytics, or scheduling, you can use third-party tools like GMass or Yet Another Mail Merge (YAMM), both of which integrate with Gmail.
Using GMass for Newsletters
GMass is a powerful email marketing tool that enhances Gmail’s capabilities for sending mass emails and managing campaigns, allowing users to send personalized bulk emails using data from Google Sheets.
It operates directly within Gmail, enabling users to leverage their existing accounts without needing to learn a new platform, making it ideal for cold outreach and email marketing. GMass allows you to track open rates, and even automate follow-ups.
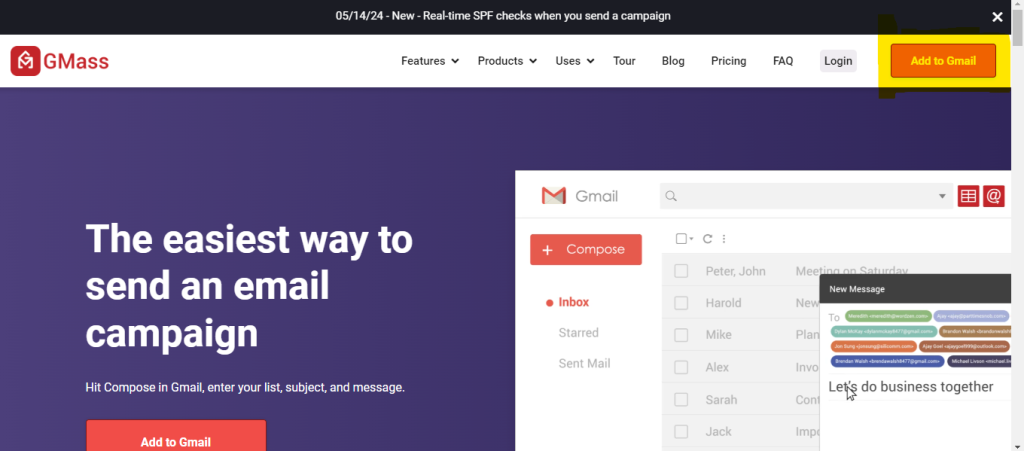
Step 1: Install GMass
Go to the GMass website and click ‘add to gmail’.
You will be directed to this page where you will click ‘add to chrome’ to install the GMass extension.
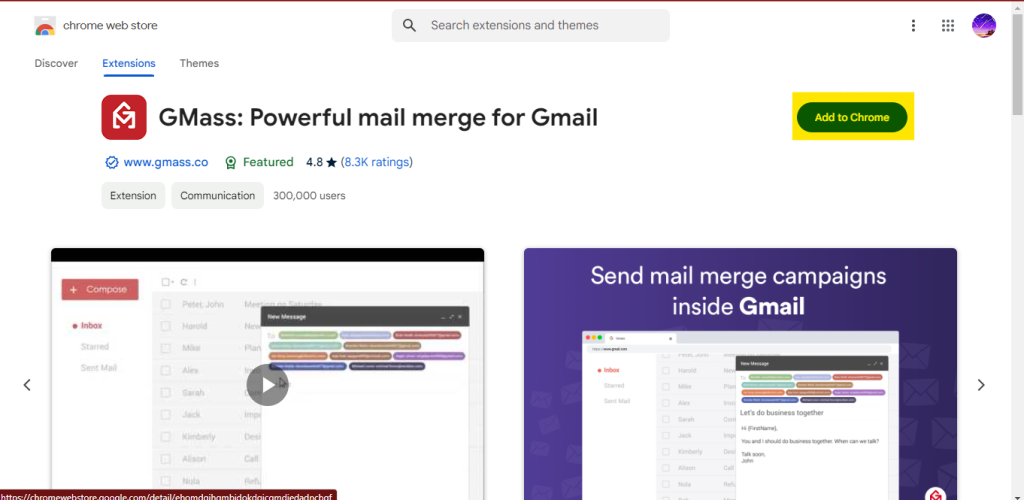
Once installed, sign in with your Google account and grant the necessary permissions.
Step 2: Prepare Your Contact List
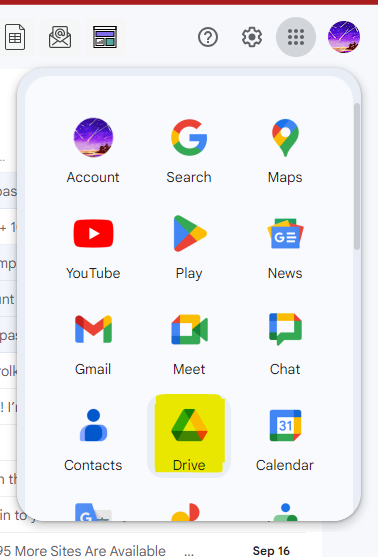
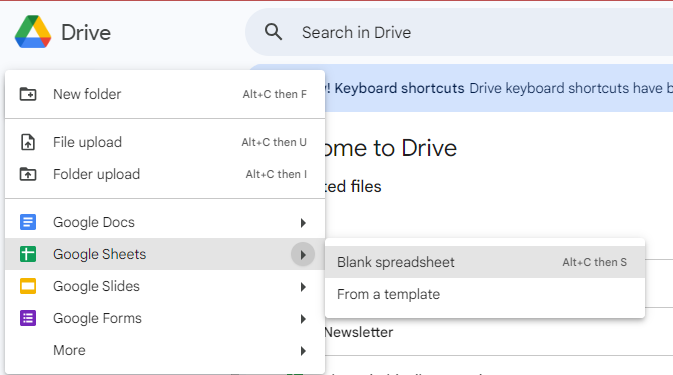
Create a Google Sheet with your contacts. Include columns for first name, last name, and email address. Within Gmail, click the Google Apps menu and select Drive.
Create a new Google Sheet or upload an existing Excel spreadsheet or .csv file if your subscriber list is ready. In this example I will create a new one.
Ensure each column in your spreadsheet has a heading that accurately describes the information in your subscriber list. For personalized content in the email draft, such as “{{First Name}},” the heading must match the text within the curly brackets. Additionally, make sure at least one column contains email addresses. Below is my example;
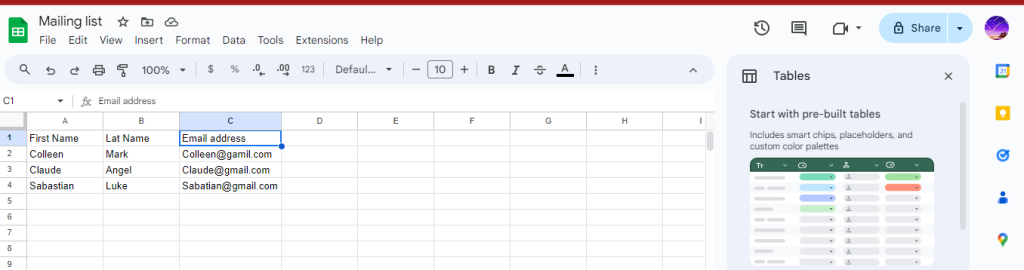
Ensure that your sheet is properly formatted and saved.
Step 3: Connect Google Sheets to GMass
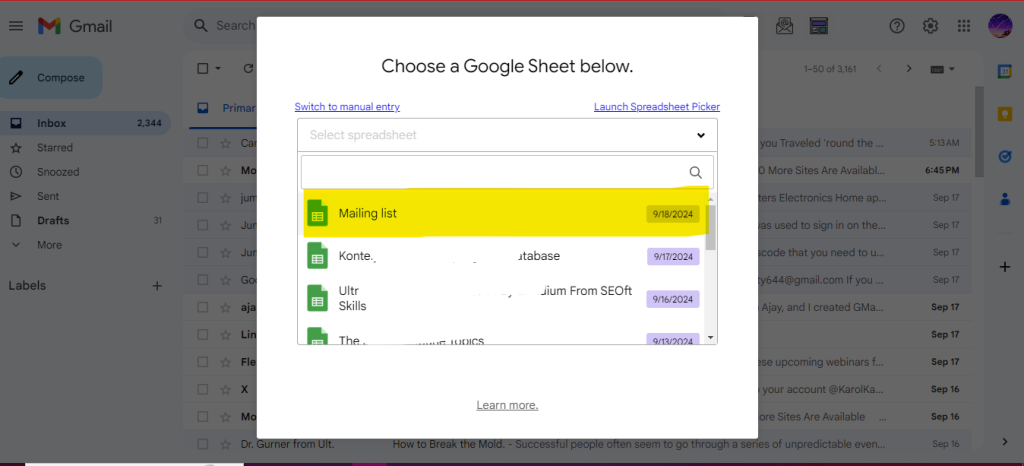
Click on the spreadsheet icon within Gmail.

Select Connect to Google Sheets and choose the spreadsheet containing your contact list.
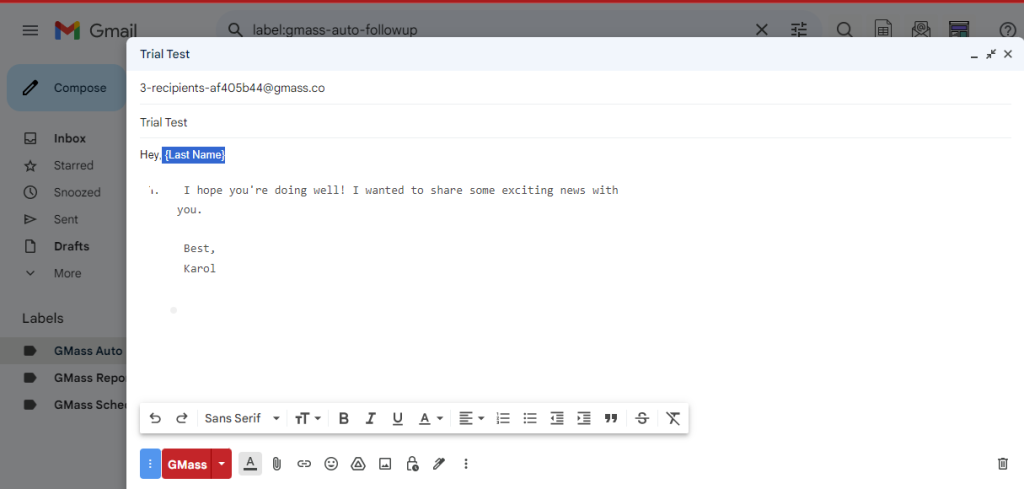
Step 4: Compose Your Email
After connecting the spreedsheet you will be able to create a new email with all the people in it being the recipients. You can format the text using Gmail’s built-in editor (bold, italics, colors).
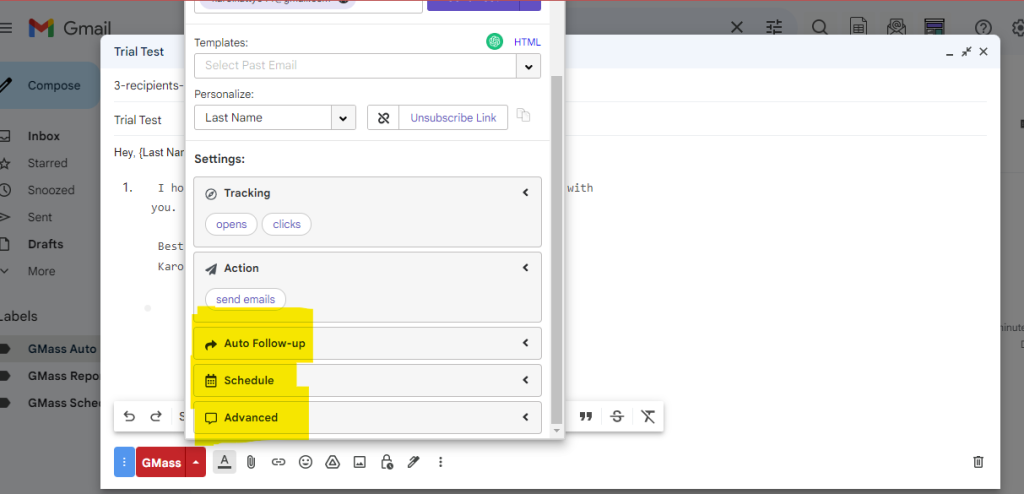
Step 5: Personalize Your Email
Click on Gmass setting to personalize your email .
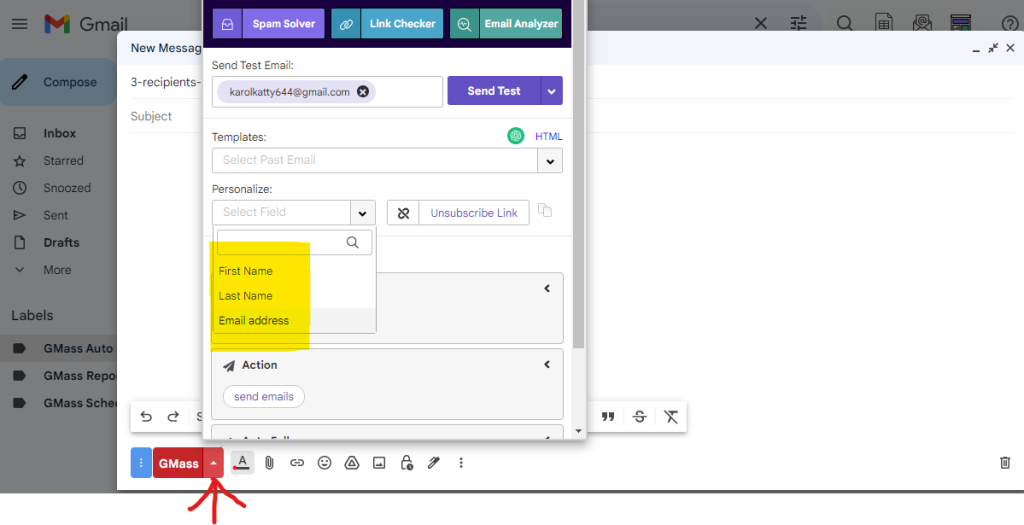
Use mail merge tags like [FirstName], [Email Address] or [Last Name] , depending on the data from your Google Sheet. For example;
Step 6: Schedule or Send Your Email
You can either send the email immediately or schedule it for a later date by clicking on the GMass settings. If you want to send follow-ups automatically, enable that option in the GMass settings.
Step 7: Test Your Email
Send a test email to yourself or a colleague to check formatting and ensure everything looks good.
Step 8: Send Your Newsletter
Once satisfied with the test, click on the GMass button to send your newsletter to all recipients in your list.
By following these steps, you can efficiently create and send newsletters using GMass within Gmail.
Using Yet Another Mail Merge (YAMM)
YAMM is another tool that works with Google Sheets for sending personalized emails through Gmail.
Step 1: Install YAMM
Go to the Google Workspace Marketplace and install the Yet Another Mail Merge add-on for Google Sheets.

Step 2: Prepare Your Contact List
Open Google Sheets and create a new spreadsheet.
In the first row, set up your column headers, such as First Name, Last Name, and Email. Fill in the corresponding data for each recipient below these headers. (Follow the procedure in step 2 on using Gmass for newsletter)
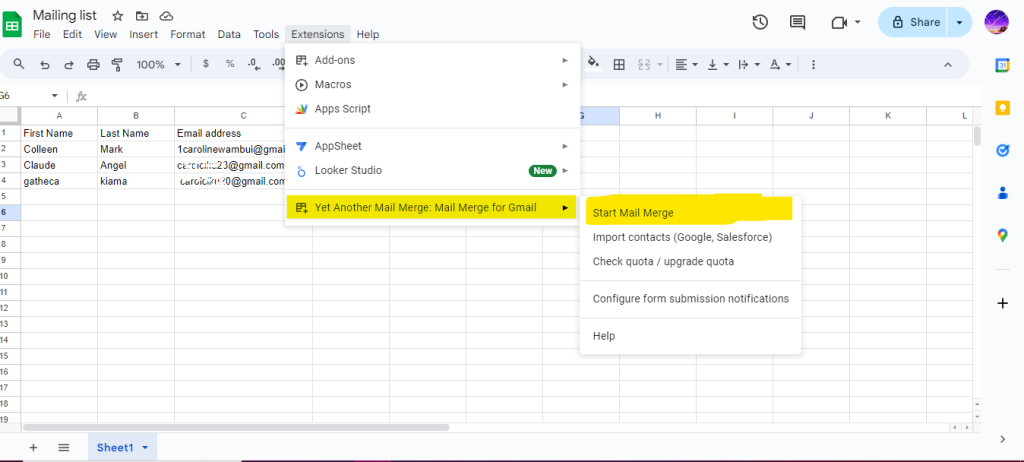
Step 3: Start Mail Merge
To start a mail merge in Google Sheets, go to the Extensions tab at the top of your sheet. Select Yet Another Mail Merge: Mail Merge for Gmail, then choose Start Mail Merge from the dropdown menu.
Enter the Sender Name so recipients know who sent the email. Then, select your prepared email draft under Email Template (the subject line will be the draft title).
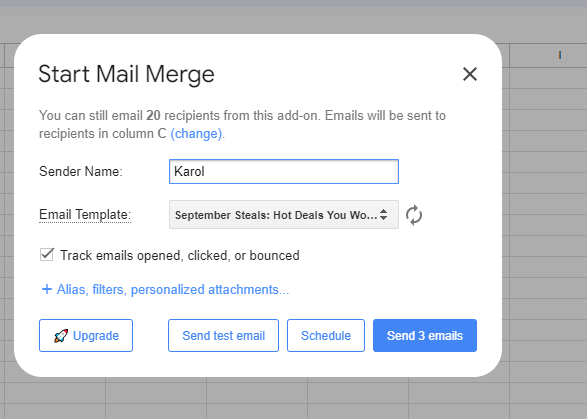
Step 5: Send mass email
The free version of YAMM restricts you to sending only 20 emails at once. If you have over 20 recipients, consider using a free email marketing tool like Convertnow.
Option 4: Using a Newsletter Service for Gmail
If you want more sophisticated design and email marketing features, you can use external tools like ConvertNow and integrate them with Gmail.
Step 1: Set Up an Account
Sign up for a free account on ConvertNow if you haven’t already.
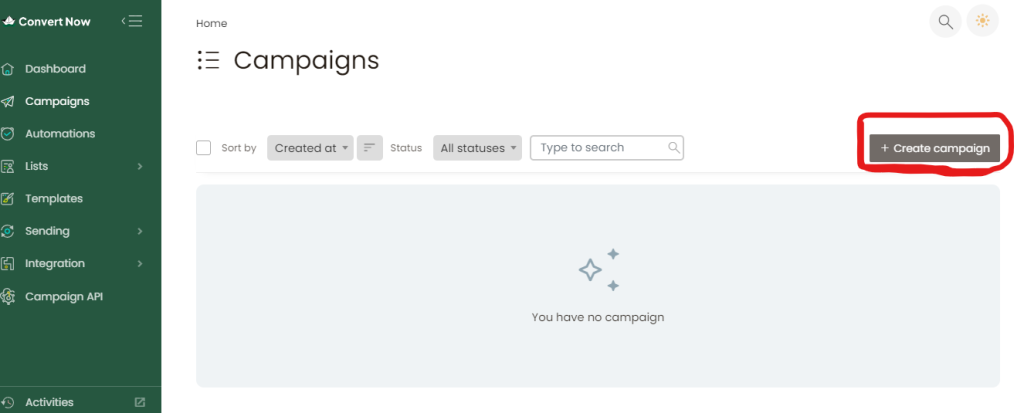
Step 2: Create a campign
The next step is to create a campaign. ConvertNow provides two types of campaigns: regular email and plain text. In this tutorial on creating a newsletter in ConvertNow, we will focus on the regular email option.
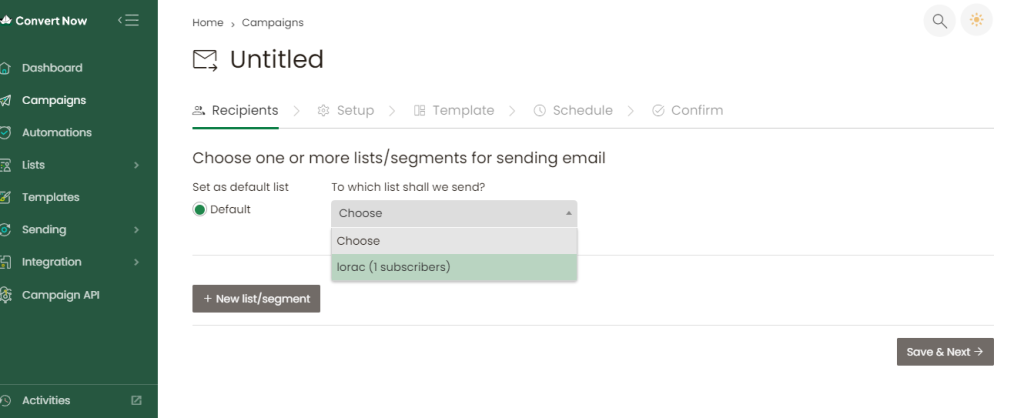
Step 3: Add or start your email list
Whether you have thousands of customers or are starting from scratch, getting started is easy. Just add your subscriber list to your email tool
Step 4: Set Up
In this phase, name your campaign and fill in details like email subject, sender name, sender email, and reply-to email. This setup allows you to track opens and clicks.

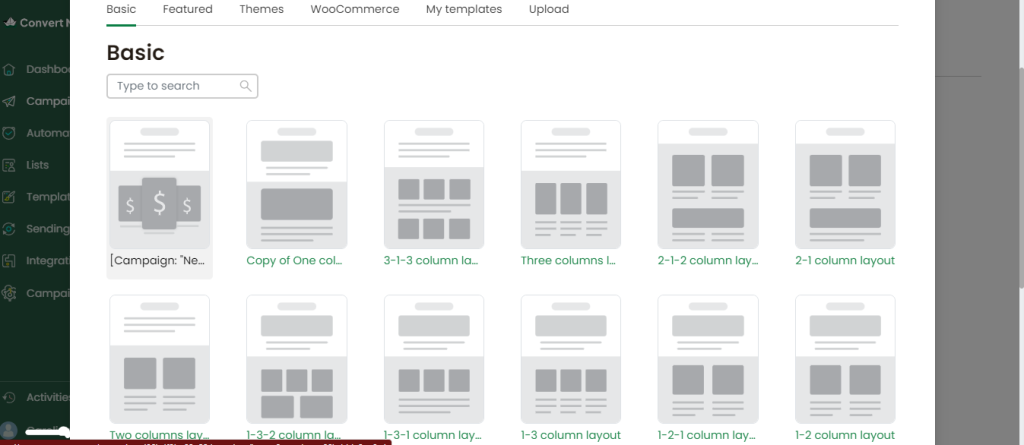
Step 5: Choose a template
ConvertNow offers a variety of pre-designed templates that can be filtered by email purpose, industry, or plan type (free or paid). You can customize content using their user-friendly HTML email generator or upload your own template in a zip file. For this tutorial, we’ll use a pre-designed template.
Step 6: Customize The Content Of Your Convertnow Newsletter
Design your newsletter using their drag-and-drop editors for professional-looking emails.
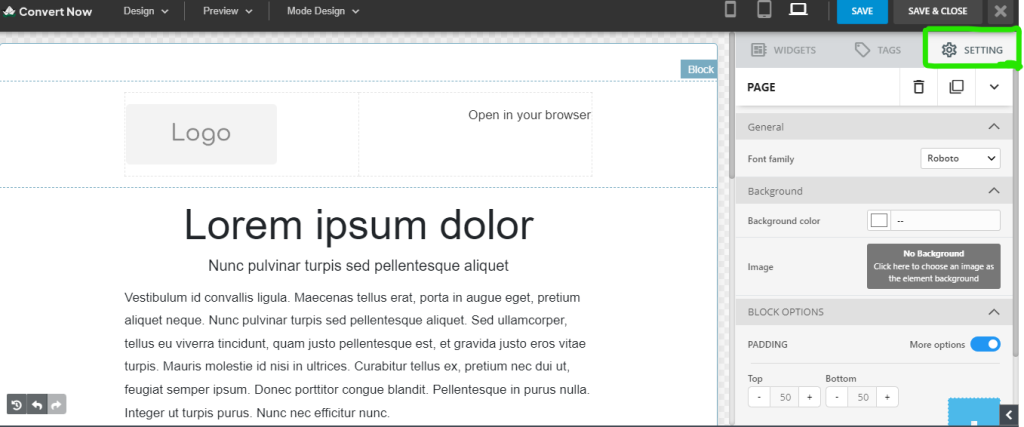
Ensure your content is visually appealing and includes engaging elements like images and call-to-action buttons. I made some formating for demonstration.
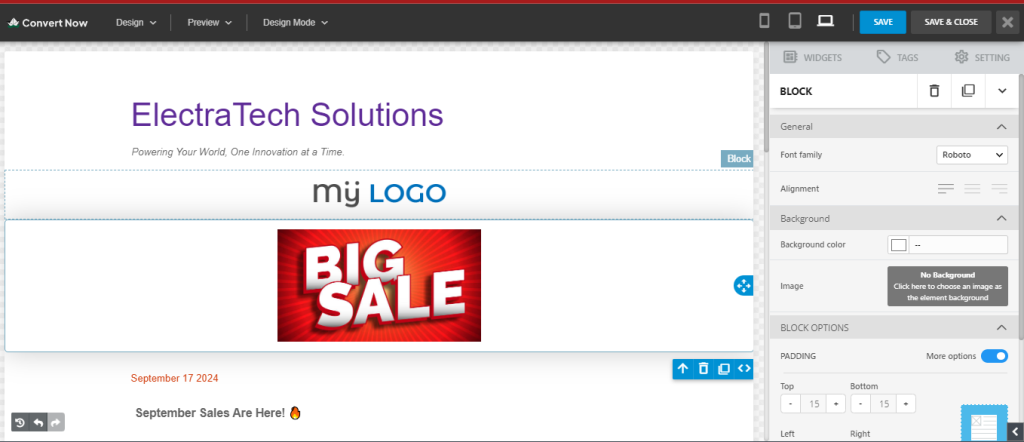
After formating to your liking, highlight the newletter and copy.
Step 7: Send via Gmail
Go to your Gmail account, click compose and paste it like shown below.
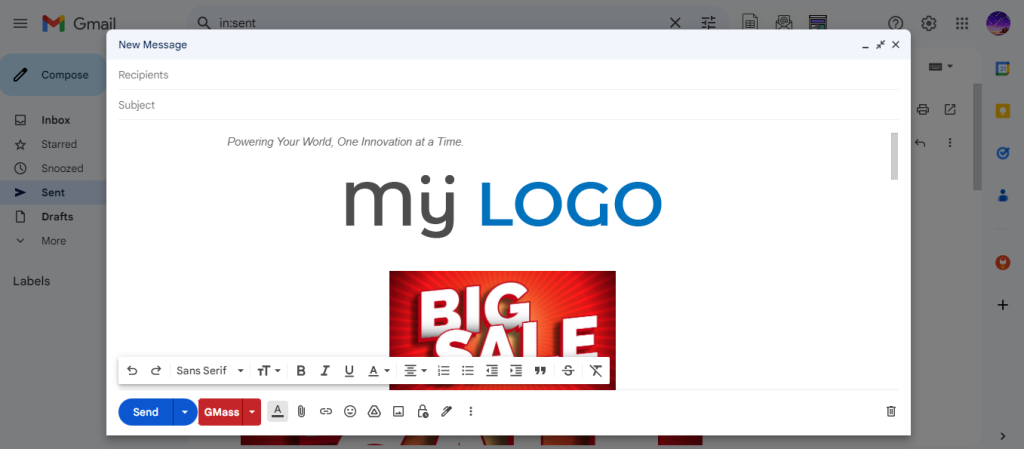
Add recipient and subject line. Ensure that everyhting is in order and click send.
Best Practices for Sending Newsletters via Gmail
Respect Gmail’s Send Limits
Gmail limits you to sending around 500 emails per day for personal accounts and 2,000 emails per day for Google Workspace accounts. For larger newsletters, use a tool like GMass or YAMM.
Avoid Spamming
Ensure your content is relevant to your audience.
Provide a clear option to unsubscribe (especially important if you’re sending regular newsletters).
Test on Different Devices:
Make sure your newsletter is mobile-friendly and looks good on both desktop and mobile devices.